Just Host Web Hosting Help
WordPress Creating Editing Removing posts
With an install of WordPress on your account, you may want to let people know about updates in your life or news that is happening to your business. Making a post can help you be able to do that. This tutorial will be a guide on how to make a simple post for a site.
Need hosting for a new or existing WordPress site? Sign up at Justhost.com.
Logging in to the WordPress Dashboard
To get started you would need to login to the WordPress Dashboard.
- Login to the WordPress Dashboard by visiting the blog, and adding wp-admin to the end of the URL.

- Enter the admin Username and Password.


Adding a New Post
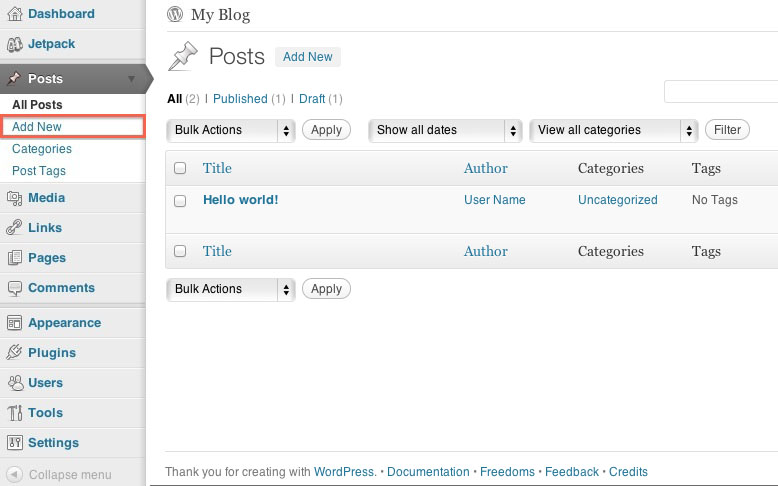
- On the left, you will see a menu with options for Posts. Click Add New.
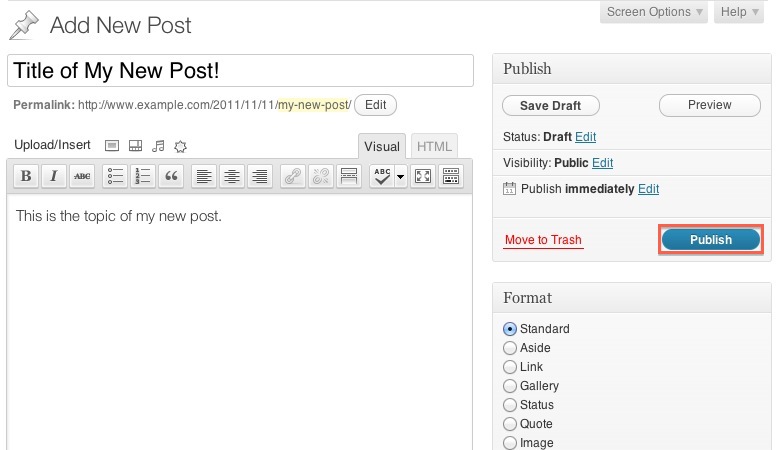
- This is the interface used to compose the post. HTML code can be inserted. Media files can also be added.
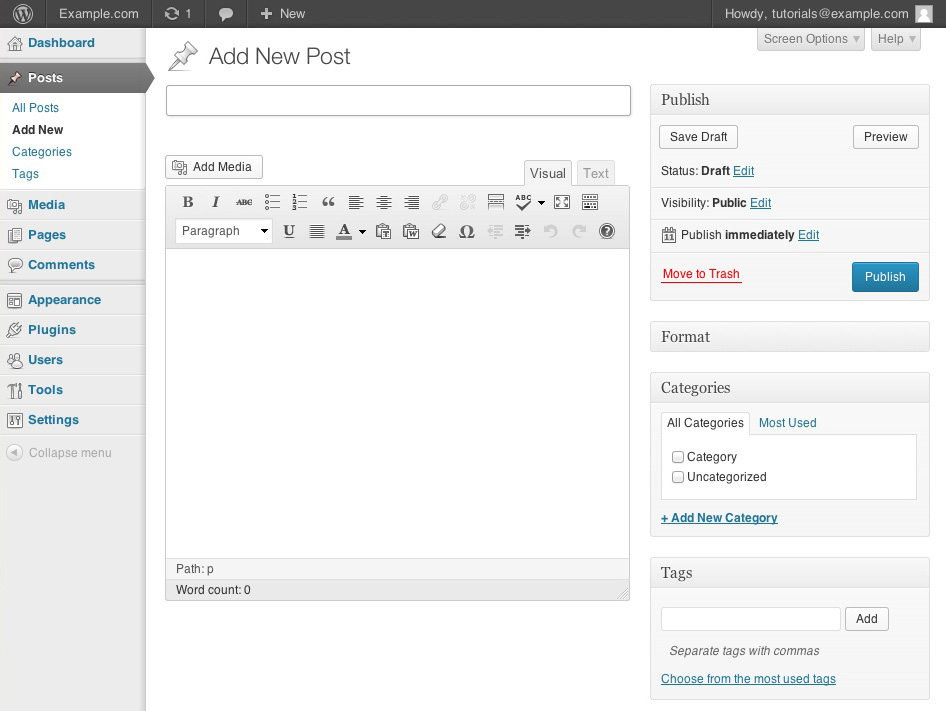
This works similar to most word processing programs. It allows to bold, italicize, set alignment, add links, etc. To insert images click Add Media. Once you have uploaded the image you can place it where you want in the post.
Comments are not able to be disabled from in here by default. What theme and/or plugin you install will give that option.
- Selecting the Category that you would like to have it associated with will help with organizing.
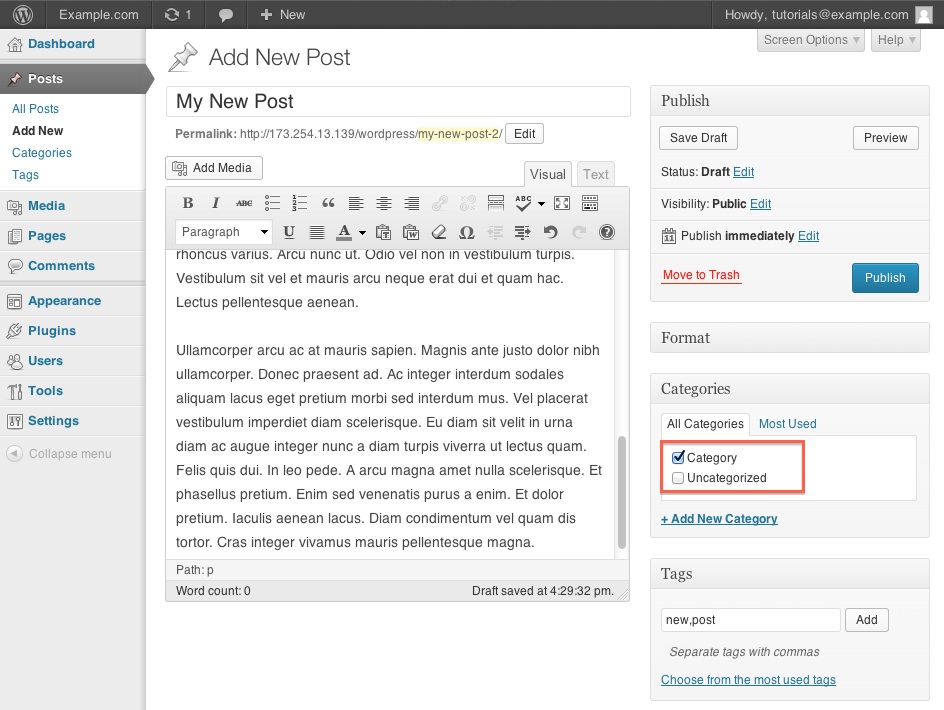
- Adding Tags will help with searching for the article and relating other articles.
- When the post has been composed, click the Publish button.
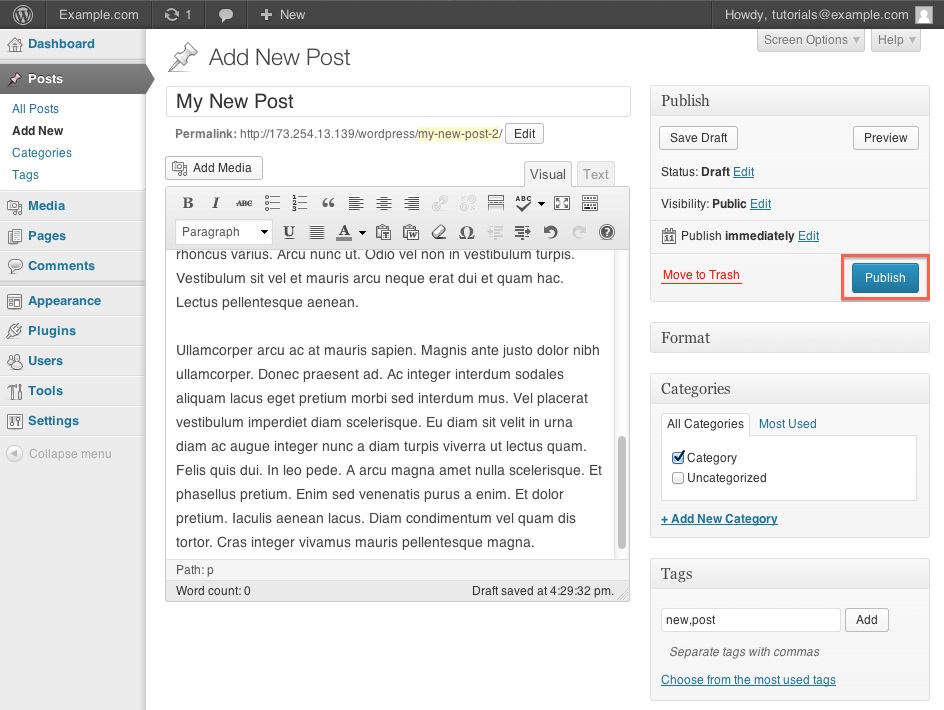


Your WordPress post has now been published.
Editing a Post
So, you have made a post and need to edit something in to make it more relavent or there is a spelling mistake you need to fix. Editing the post will save your life, or at least save your posst.
- On the WordPress Dashboard click All Posts under Posts. This will list all the posts that have been made, whether published or drafts.
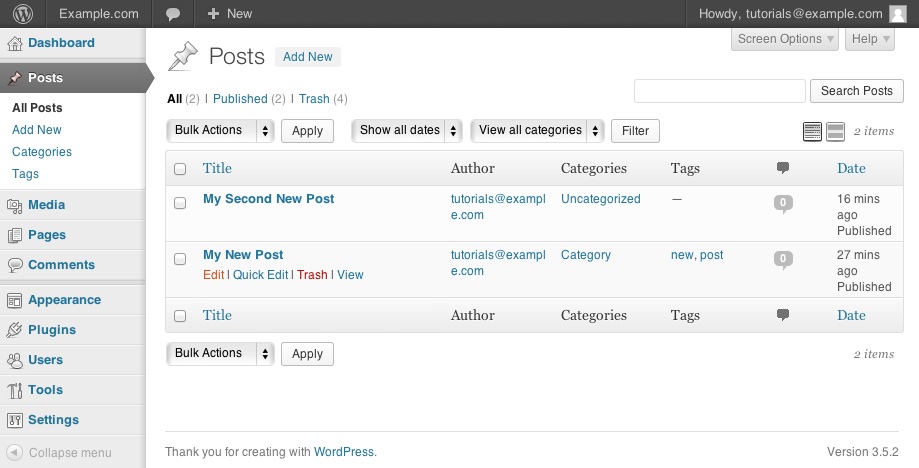
- In the search field at the top right-hand corner you can type in the post you would like to remove or you can scroll through your posts.
- Mouse over the post that you need to edit and click Edit when it appears. This will open the editor for the post.
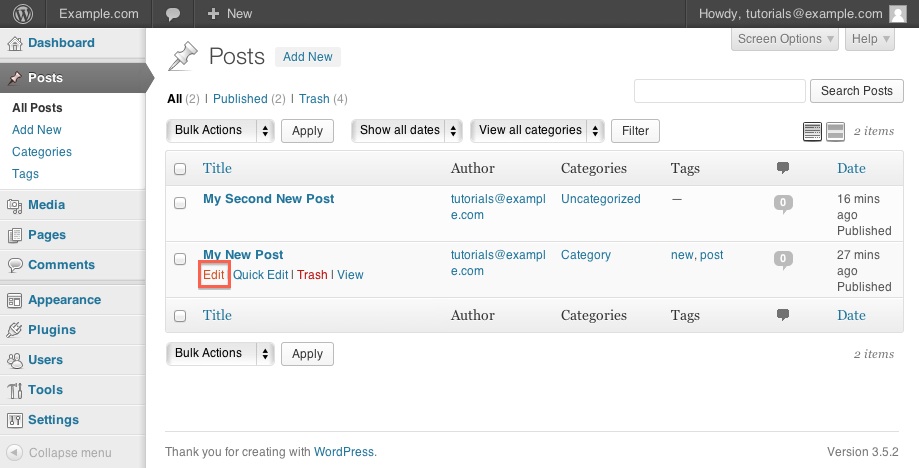
- When finished with the edit click Publish


Removing a Post
Sometime a post is too old or you just do not like it anymore. You will need to remove the post.
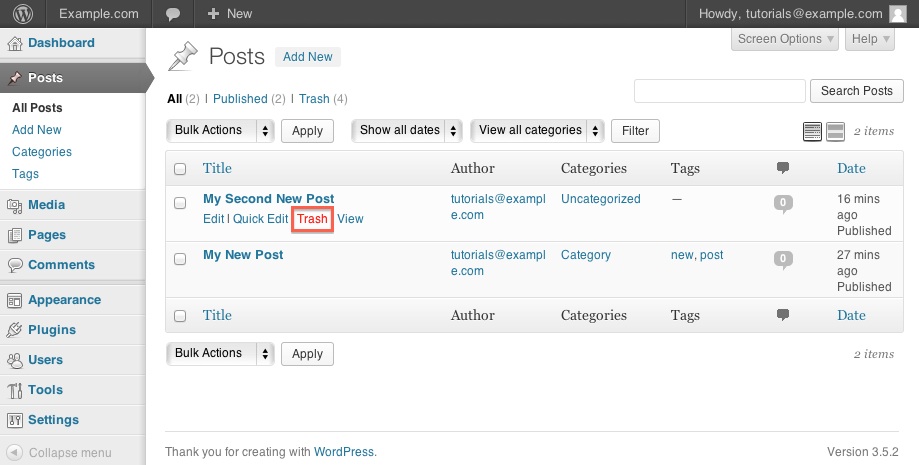
- On the WordPress Dashboard click All Posts under Posts. This will list all the posts that have been made, whether published or drafts.
- In the search field at the top right-hand corner you can type in the post you would like to remove or you can scroll through your posts.
- Mouse over the Post and click Trash.

 bookmark
 share
share
 E-mail
 Twitter
 Google Bookmarks
 Facebook
 MySpace
 Digg
Digg Reddit
 Delicious
 LinkedIn
 StumbleUpon
Recommended Help Content
 300,700 views
 tags: access dashboard deactivate disable plugin plugins theme themes wordpress
101,344 views
tags: MOJO Marketplace demo install press setup theme word wordpress
tags: access dashboard deactivate disable plugin plugins theme themes wordpress
101,344 views
tags: MOJO Marketplace demo install press setup theme word wordpress
Related Help Content
109,994 views
tags: Marketplace install marketing plugins purchase setup themes wordpress
134,257 views
tags: backup coming dormant marketing mysites performance plugins rock security settings sites temporary themes update updates users wordpress