Just Host Web Hosting Help
Managing Users on a VPS or Dedicated Server
Overview
This article will explain how to create and manage users on Dedicated or VPS servers.
Click on any of the sections to jump to that point in the guide.
- What You Need
- Login to the WHM
- Create An Account
- Login to the Account
- Change An Accounts Password
- Modify An Account
- Delete An Account
What You Need
- The password for the root user so that you can login to WHM.
Login to the WHM
You will need to be able to login to WHM on your server. This requires knowing the root password for your server. If you don't know the root password or haven't set one up, please see https://my.Justhost.com/hosting/help/whm-login#root-password.
- Login to the WHM by going to yourdomain.com/whm in a browser. Replace yourdomain.com with your domain name.
- Once you get to the login page, enter your username and password.
- Username will be root.
- Password will be the root password for your server. If you don't know the root password or haven't set one up, please see https://my.Justhost.com/hosting/help/whm-login#root-password.
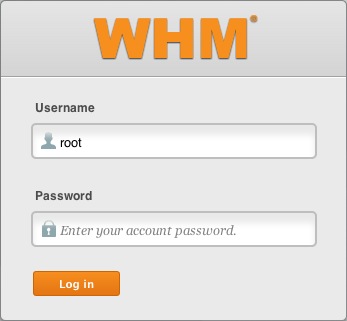
The WHM login page. - You may see a page titled "Feature Showcase". If so, click on Exit to WHM at the bottom of the page.
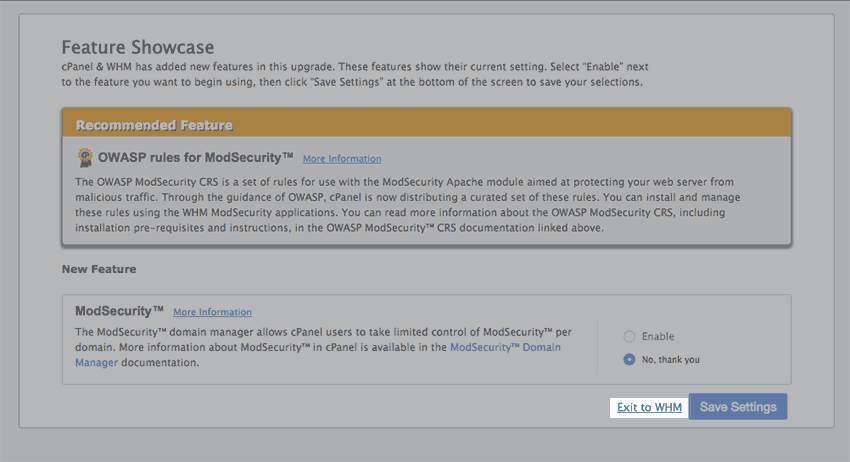
The Feature Showcase page with "Exit to WHM" spotlighted.


Create An Account
- At the top left of the page, type "Create" into the search bar.
- In the search results, click on "Create a New Account".
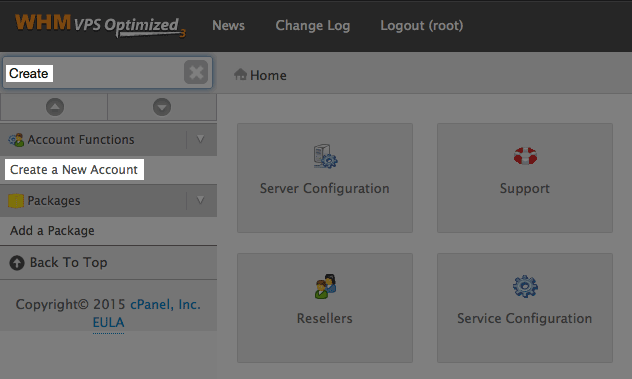
Searching Create in the WHM. - Under Domain Information, enter the following information:
- Domain: The main domain for this account.
- Username: The name used when logging into the account.
- Password: The password used when logging into the account.
- Re-type Password: Type the password again to ensure accuracy.
- Email: The contact email for the person who will using the account.
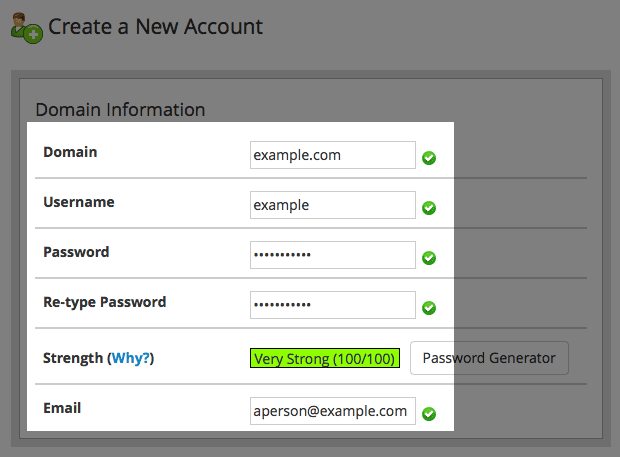
Creating an account. - Under Package, choose the package of options you want this account to have or choose Choose Options Manually to be given a list of options you can add to this account.
-
Under Settings, choose either the x3 or Paper Lantern theme.
Note: Do not choose the Just Host theme. This theme does not work on any account but your main Just Host cpanel. - You may adjust the other settings if you feel comfortable doing so. For all others, it is recommended to leave them at the defaults.
- At the bottom of the page, click the Create button.
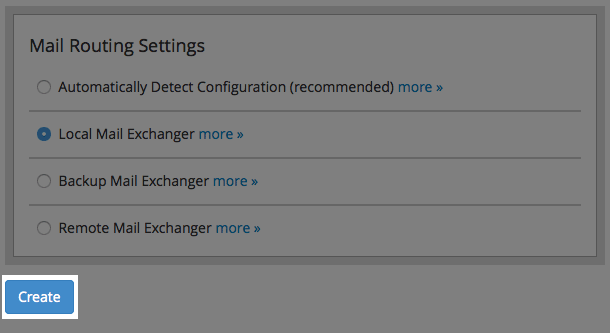
The create button.


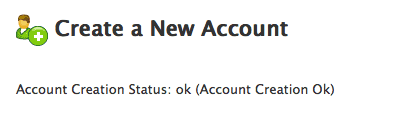
Finally, you will be shown a page the will confirm the account was created.
Login to the Account
Logging in as the User
-
Go to domain.com/cpanel in your browser.
Note: replace domain.com with a domain that point to your server or your servers IP addresss. - Enter the username and password.

The cPanel login - Click the Log in button.

You will be taken to the cpanel for the account you logged in with.
Using The WHM
- In the top left of the WHM, type list into the search.
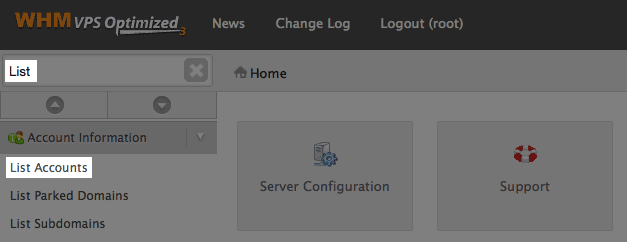
Searching list in the WHM. - In the search results, click on List Accounts
- On the list of accounts click the cPanel Icon for the account you wish to login to.
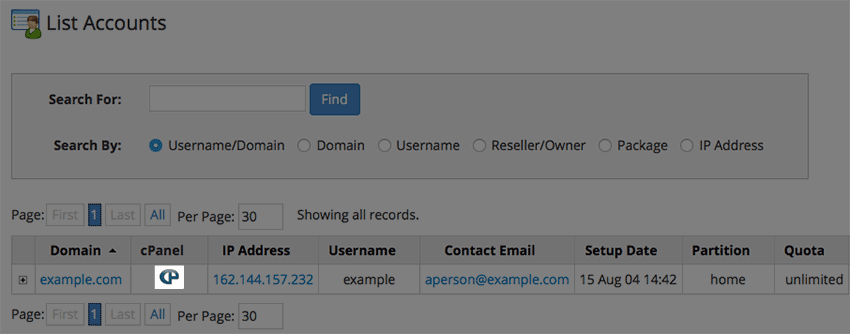
The cPanel link.


You will be taken to the cPanel for the account you logged in with.
Change An Accounts Password
- In the top left of the WHM type list into the search.
Searching list in the WHM. - In the search results, click on List Accounts
- Click the + symbol next to the account you would like to change.
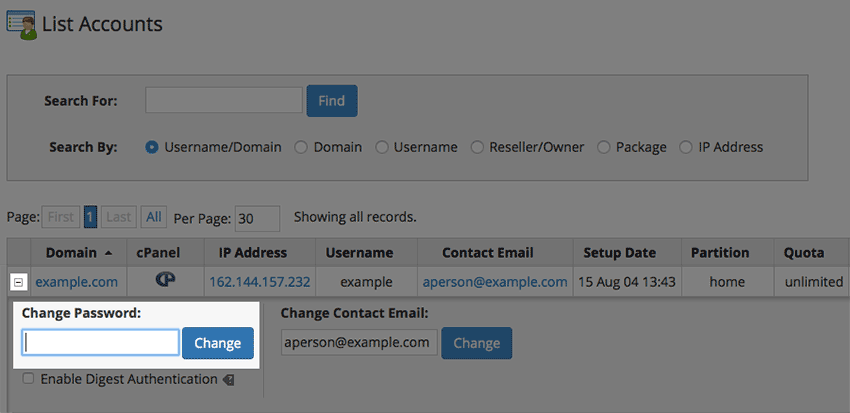
Changing an account password in WHM - In the change password box enter the new password and click the Change button.

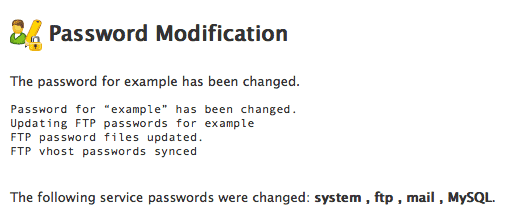
You should be given a page confirming the change:
Modify An Account
- In the top left of the WHM, type modify into the search.
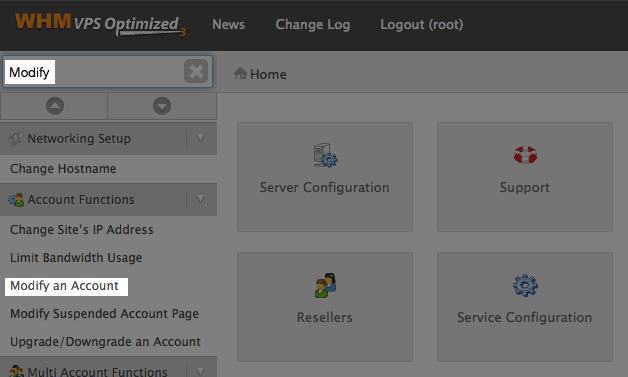
Searching modify in the WHM. - In the search results click on Modify an Account
- In the list of accounts select the account you wish to modify.
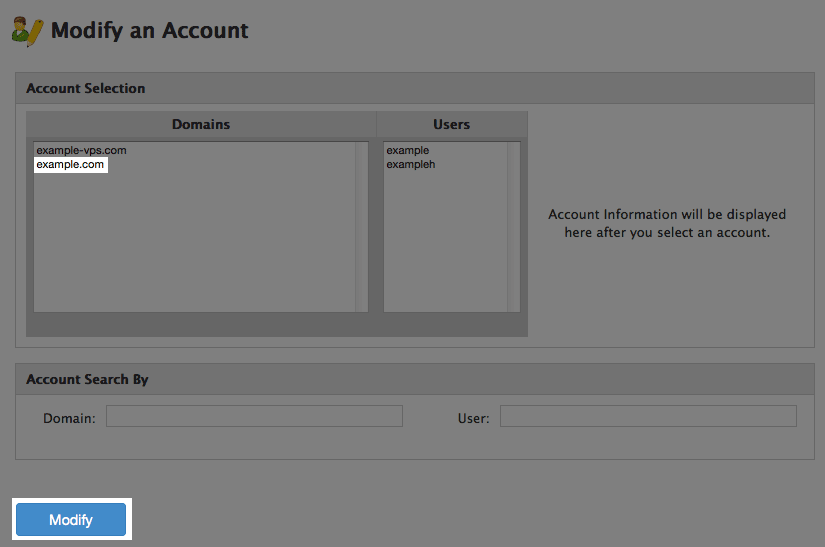
The modify account list. - Click the Modify button.
- Go through any of the options you would like to change.
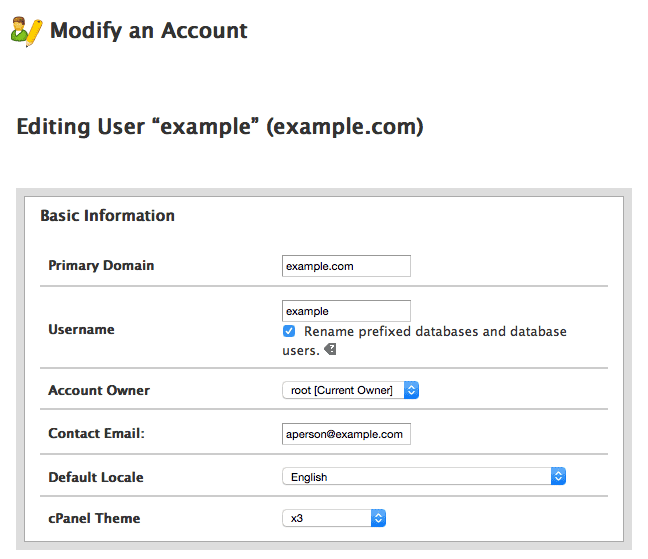
Modifying account options. - Click the Save button at the bottom of the page.
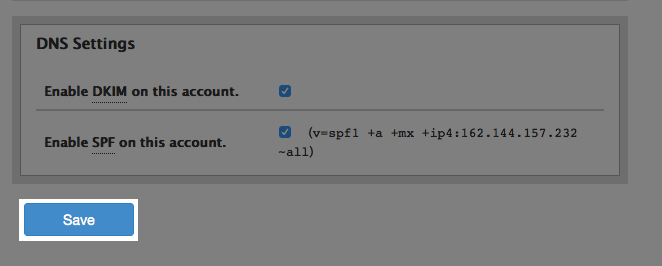
The save button.


Delete or Terminate An Account
Terminating an account will delete all account information and data contained within the account.
- In the top left of the WHM, type terminate into the search.
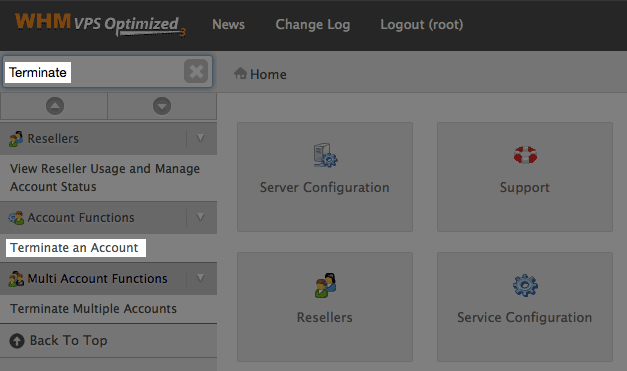
Searching terminate in the WHM. - In the search results click on Terminate an Account
- In the list of accounts choose the account you want to terminate.
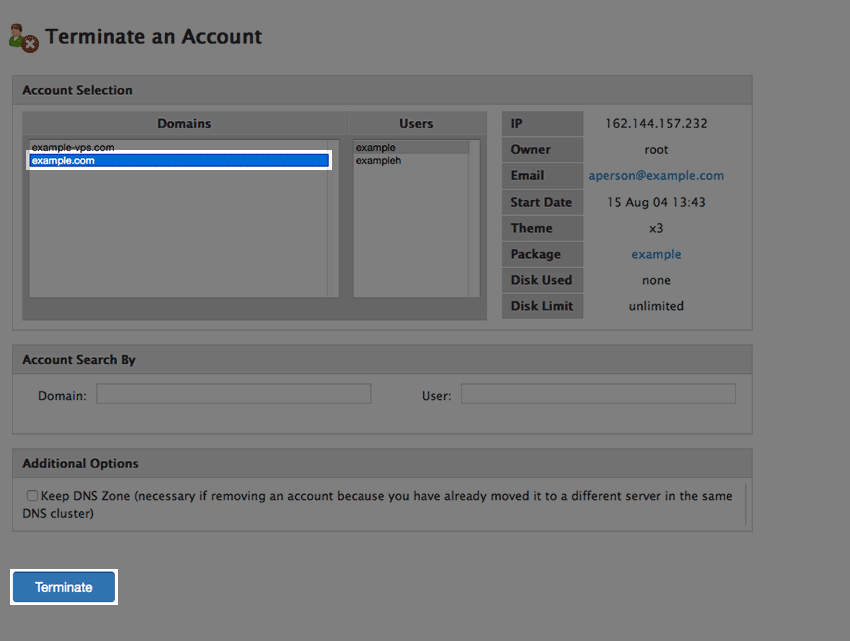
The account list. - At the bottom of the page, click the Terminate button.
- When prompted, click Ok to confirm that you want to terminate the account.
The account termination confirmation.


You will be shown a page confirming the account was terminated.
 bookmark
 share
share
 E-mail
 Twitter
 Google Bookmarks
 Facebook
 MySpace
 Digg
Digg Reddit
 Delicious
 LinkedIn
 StumbleUpon
Recommended Help Content
Related Help Content
 92,593 views
 tags: application configserver csf dedicated django elastisearch ffmpeg java js litespeed mongodb nginx node private python server tomcat virtual vps